Thursday, May 25, 2006

Boat Sold

Davey, a local Portlander with help from a boatbuilder friend has decided to take on the task of finishing off the skipjack. Hopefully she will see the water some day. I'm now just working on clearing out a few extra building supplies and tools...

Tuesday, May 16, 2006

Selling the boat and moving on

After much thought and consideration, I've decided to sell the unfinished skipjack and move one to a new phase of my life. While it's been fun working on this rather fantastic project, I've realized that my true love is whitewater and denying this is blasphemous. Given my time constraints with working 60-80 hours per week and applying to medical school, I need to focus on the things I really care about and can accomplish. Sad as I am, I've learned a tremendous amount working on this project both about woodworking and boatbuilding and about myself in general.

I'm asking for $600 for the trailer (freshly painted easy-loader with surgebrakes) and the boat is free. I also have a collection of wood, epoxy, fiberglass, and a few tools which I'll be parting with.

Sunday, October 23, 2005

Centerboard and trunk


The beast is now permanantly intalled! After a week of hefting around the centerboard trunk I finally got it installed. The trunk's made up of 1" plywood sides with 2x10 cheeks and rebated caps on either end (by the end it must have been upwards of 130lbs). I will install a athwartship brace log on the leading edge to distribute the twisting forces. Simultaneously, I poured a little lead (40lbs) in the trailing corner of the centerboard to help hold it down. I was quite pleased to find lead can be planed with a powerplaner with very little effort!

Wednesday, August 17, 2005

Turning the hull.....


After much thought, I decided to try the gin pole method for turning the hull because of space considerations. I jacked the hull up and put it on some casters, rolled it outside and set up a gin pole with some tackle. After trying to turn it myself without much success, my housemate wandered by and another friend showed up. With their help, we got it flipped and rolled up on the trailer. A little cleanup and we rolled the whole thing back into the garage. Aside from it being a hot day (in the 90s) and skinning up a bit of the paint here and there, the process went pretty smoothly. Now for the insides.....

Tuesday, August 02, 2005

Trailer...


I decided that before I flipped the hull to begin the interior, I wanted to find a trailer so that I could both move the boat easily and wouldn't have to build a temporary cradle. After much searching I found what I was looking for--an old EZ-Loader with surge brakes and not too much rust. I put a wirewheel on my disk sander and went after the loose paint and rust. About 5 hours later, it was looking ready for a light coat of Rustoleum "heavily rusted" metal primer followed by about 3 coats of Rustoleum white gloss enamel (~10 12oz cans). I'll let the paint cure for a week before reassembling the parts.

Monday, July 18, 2005

Rope Stropped Blocks

While waiting for my paint to cure, I decided to play with making some blocks. Considering the price of Harken, the number of blocks needed and how silly carbonfiber-plastic-ball-bearing blocks would look on a big gaffer, I concluded rope-stropped blocks were the way to go. Steve Miller, a backyard hardwood miller, in the Columbia gorge had some big chunks of black locust that he wanted to get rid of that looked like they would do just the trick. I marked out the blocks, drilled the hole for the spindle, mortised out a slot for the sheave, and cut the profiles on the bandsaw. Rounded over all the corners with the router and roughly cut the groove for the strop with the router as well. Some minimal hand shaping and they took a week long dunk in some boiled linseed oil. I made the sheaves out of ultra high molecular weight polyethylene by cutting them out with a hole saw and cutting the groove in with a small microplane while the sheave was chucked up on the drill press. A couple sites that I used for ideas are
www.eclectica.ca/boatbuilding/blocks.php
home.flash.net/~ralbers/pulleyblocks.htm www.duckworksmagazine.com/articles/woodenblocks/woodenblocks.htm

Boot stripe


I painted a blue bootstrip on the boat this weekend. After much thought and frustration trying to figure out a way to get a clean edge, I finally just drew a rough line on by hand and painted it with a 1.5" brush. It took a couple hours to get the line drawn on using a laser level with a grating which split the beam into a line, then another 4 hours of painting very carefully.

Saturday, July 16, 2005

Painting.....http://www.blogger.com/img/gl.spell.gif


Finally decided it would have to be smooth enough and headed down to Miller. A friend got a great deal on some Miller Marine Alkyd Enamel which sounded like it was pretty tough, but not too expensive. We bought 5 gallons of primer, 5 gallons of the primary color (Gray) and a gallon of accent color (blue). I first swept off the hull with a big broom, then vacumed it and tacked it down. The primer went on pretty smoothly, 24 hours later came the first coat of paint and a couple days after that the second. I neglected to "tip off" the first coat after rolling it on so there is a little more texture that I would have liked. I suppose if I get too worried about it, I'll sand it down, but I have too many onther projects to worry about before working on that anymore. I'll paint the boot-top then start figuring out how to flip the beast over.

Monday, May 23, 2005

Fiberglass Fun.....


I bought 27 yards of 50" width 8oz cloth from US Composites in FL. Even with shipping, they were far cheaper than anything I could find locally. This is the same place I got my epoxy resin and had been happy with their service. Fiberglass is a tricky little art--big flat areas were easy enough, but getting it to lay fair as it went over all the concave/convex curves down around the skeg proved to be entertaining. I had good luck using an 8" wide sheet rock mud knife to squeegee the resin around and work it into the cloth. I used a cheap chip brush for the tight areas and to make small changes in how the cloth lay. I put on one coat of epoxy to seal the plywood, then layed the glass cloth on dry and wet it out, then 2-3 more coats to fill the weave and give me enough to sand down to fair....

Thursday, May 19, 2005

Skeg, Face plate etc...


Here, I've mounted the "shoe" to seal all the plywood edges, put a "faceplate" in front of the stem and am building up the skeg. Lots of fitting projects and I've been putting the Stanley 113 to good use. Also along the way, I've filled all the screw holes and begun the process of fairing.

Tuesday, April 19, 2005

Double Diaganol


There is a fair amount of twist and shout happening up in the bow going from the V-bottom into a plumb bow. After a bit of thought, some research and a lot of head scratching, I decided to give the double diaganol planking method a go (this was actually planned for from the begining, thus the two layers throughout). The first layer went on pretty easily with a couple of the strips being a little ornery but aquiescing under duress (e.g. lot of screws). The second layer was a little harder, but also went on without much incident. All the edges were fitted using the router to trim both pieces at once and with rare exception, the joints came out reasonably close. Then I went back and trimmed down the excesss ply hanging off the edges--all of the sudden it's starting to look like a boat ehh?

Friday, February 18, 2005

Apply the Ply


Well, there is no turning back--it's time to start screwing some plywood onto those frames.... I decided on a high-grade flood underlayment from the local lumber company. The bad part is that the 3/8" ply is only 3 layers (so there is a bias in how the grain it running), however the good news is that I have yet to find any significant void in the edge and that it's just over $20/sheet (as opposed to $50 for marine grade).

I had fun cutting some wide scarfs for the front section and will just use butt blocks for the back where it's a pretty straight run. I don't have space to scarf 3 pieces of plywood so this seems to be the best solution. I put on one layer, removed all the temporary screw, and put on the second layer with the permanent fastenings (only screwing to the longitutinals as recomended in my plywood boatbuilding book).

Fairing the ply down to the chine log was pretty straight forward and the powerplane made quick work of the worst of it. A little touch up with the stanley #113 and she looked pretty fair to me.

Tuesday, January 18, 2005

Framed out and Faired


Here is the finished framework. The frames are all recycled fir from the Rebuilding Center in Portland, gussetts are 1/2" ply, fastners are all hot-dipped galvanized bolts. The keelson is a single piece of clear fir from a 30'long 2x14 I found at the rebuilding center (that place rocks!). All of the cross-spalls visible are temporary. The strongback is made from some 2x14s and the horses are roughsawn 2x8s--all from the rebuilding center. The horses are bolted to the garage floor and all in all it's pretty solid. I climb around on it and nothing moves!

Lots of plane shavings--I gave my stanley baily #7 a good workout getting the chine log and keelson faired in.

Thursday, January 06, 2005

There's nothing you can't do with some recycled wood and a few screws


An experiment in patience and boatbuilding...

All the frames are now built and set up on a strongback in the garage. Sometimes I think I should just take some photos, buy a keg of beer and have a nice bonfire....but it's just too much fun to buy a can of beer and sit back a stare and it.

Sunday, January 02, 2005

The Tools.....

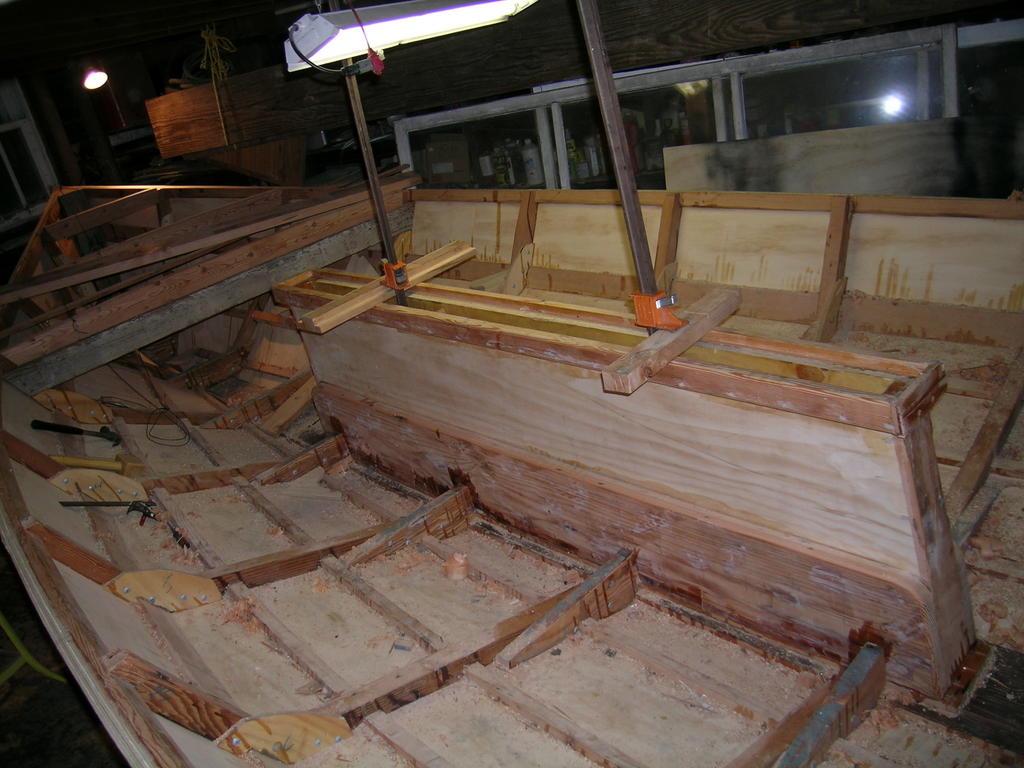
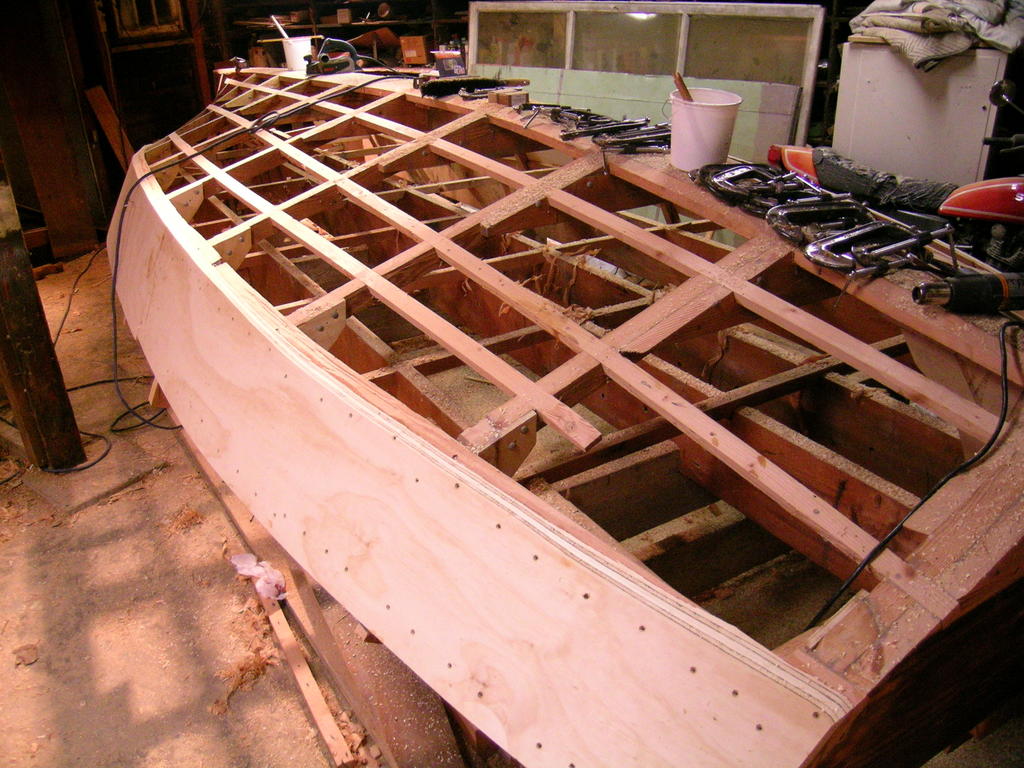
Having done practially no woodworking (short of building a small bookcase and some birdhouses for mom), I had a pretty limited tool supply--some wrenches, pliers, a jig saw, an older cordless drill, and a smattering of other odds and ends. Lucky for me, my landlord/housemate (who's garage I'm building this in) has a cabinet shop convieniently attached to the garage. While there was no way I would be using any of his hand tools, he offered to let me use his table saw (provided I buy my own blades), drill press, and bandsaw. My father sent me a few chisels and a couple planes when I told him I was planning on building a boat and the rest of my hand tools I've bought used from ebay, garage sales and antique shops.

Almost every used tool I've bought has requires a fair amount of work to get it back into working condition. I lapped all of the plane soles using a piece of glass with sandpaper on it. Blades were reground by hand on a course waterstone using a Veritas guide, then honed on 1000 grit and polished on 6000 grit waterstones. The backs of all the blades were flattened on the 1000 grit and polished on the 6000 as well. Chisels recieved a similar treatment. Once the blades were done the first time, I can easily hone them by hand a number of times before I start to round the face and the blade and have to use my guide to flatten it again.

Current inventory (which is really quite excessive....)
Stanley/Baily #3,4, 4 1/2, 5, 5 1/2, 7, 9 1/2 block plane and a low angle block plane, #78 duplex, #113 compass and an old little finger plane.

A variety of japanese chisels (some new, some antique) from 1/4"--1 1/4", a set of marples chisels (christmas present from the parents), 2" fulton slick, 3 1/4" generic slick, 3" greenlee slick, a huge LL White gouge (somebody told me it was for boatbuilding and I'm a sucker for that...).

For powertools, I use a 15.5V Panasonic NiMH cordless drill which, in the consumer reports test, matched or outperformed most 18V models. It has plenty of torque and the battery life is fantastic. I have a couple cheapo cordless drills which are fine for drilling pilot holes but can't drive more that a few screws on a charge. A bosch jigsaw which I've had since childhood, a bosch router with a combination plunge/fixed base, a bosch 3 1/4" power plane, and a generic belt sander disk sander and circular saw.

Amazingly, I have used almost everything. A couple of the smaller planes are really uneeded as are some of the smaller chisels.

Saturday, January 01, 2005

In the beginning...


It's really quite nice looking as a 6" long drawing, I bet it would look even better in real life.......